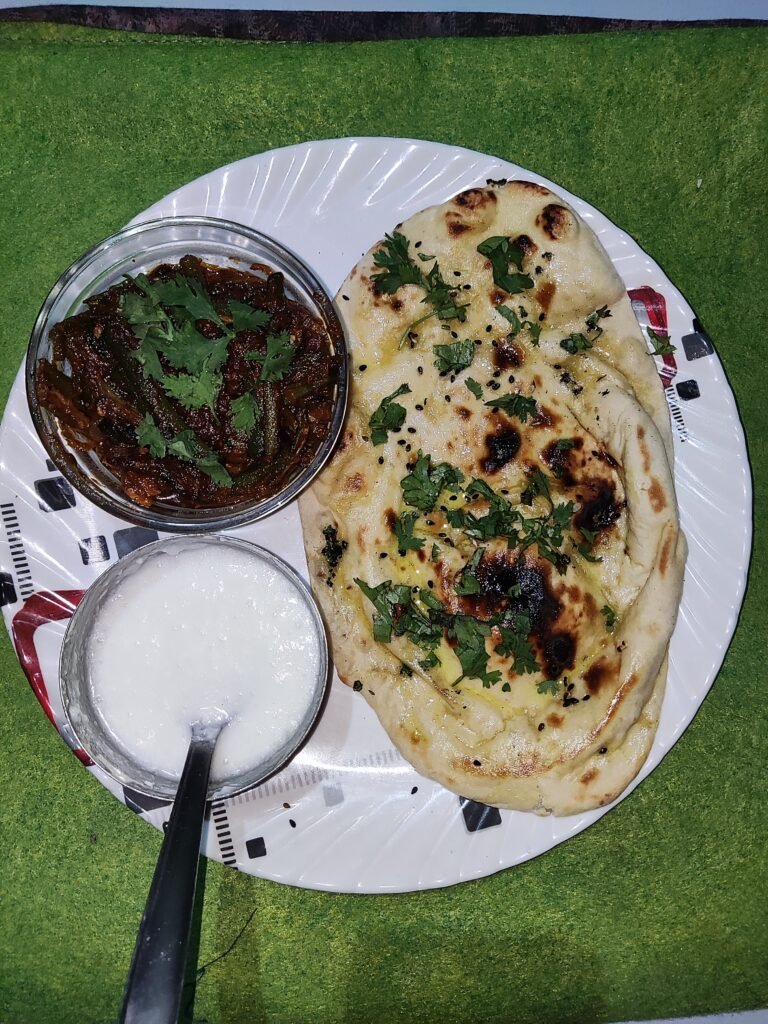
About Garlic Naan Recipes
Welcome to the aromatic world of Indian cuisine, where every taste tells a story of tradition, flavor, and warmth. Today, we’re talking about one of the most beloved treasures of Indian cooking: Garlic Naan. Picture this – a soft, pillowy roti infused with the heady aroma of garlic, fresh from the tandoor (earthen oven), ready to excite your taste buds and take you into culinary bliss.
Garlic Naan holds a special place in the hearts of food lovers worldwide, and no wonder. Its unique fluffy texture and thick garlic flavor make it a star on any dinner table. Whether enjoyed as a side dish to soak up a spicy curry or as a stand-alone dish, garlic naan has earned its reputation as a quintessential dish in Indian cuisine.
Think about the last time you dined at your favorite Indian restaurant – chances are, a basket of warm garlic naan arrived at your table, and its aroma tempted you before you even finished eating. The allure of garlic naan lies not only in its taste, but also in the experience it provides – a comforting embrace of flavors that transcends cultural boundaries and brings people together in celebration of good food.
But what if I tell you that you can recreate that magic in your own kitchen? Yes, you read that right. In this blog post, we’re uncovering the secrets to making the best garlic naan – fluffy, delicious, and guaranteed to take your home-cooked Indian food to new heights. So, roll up your sleeves, dust off your apron and get ready to go on a culinary adventure that is as delicious as it is rewarding
Ingredients You’ll Need: Crafting Garlic Naan Deliciousness
Before you embark on your culinary adventure to create homemade garlic naan, let’s gather all the ingredients you’ll need to bring this flavorful bread to life. Don’t worry – these are simple, pantry-friendly ingredients that you may already have on hand.
- All-Purpose Flour:
The foundation of any good naan is a high-quality all-purpose flour. It provides the structure and texture for the bread while ensuring a soft and chewy consistency. - Warm Water:
Warm water activates the yeast and helps it do its job of leavening the dough. It also helps to hydrate the flour and create a smooth, elastic dough. - Yogurt or Milk:
Yogurt or milk adds richness and a subtle tanginess to the naan dough. It also helps to tenderize the bread and contribute to its soft texture. Opt for plain yogurt or milk for best results. - Garlic:
Ah, the star of the show – garlic! Whether you use minced garlic, garlic powder, or garlic-infused oil, this aromatic ingredient is essential for infusing the naan with its distinctive flavor and aroma. - Salt:
Don’t forget a pinch of salt to enhance the flavor of the naan dough. It helps to balance the sweetness of the flour and yogurt while bringing out the savory notes of the garlic. - Sugar:
A touch of sugar helps to feed the yeast and kick-start the fermentation process. It also adds a subtle sweetness to the naan dough, balancing the flavors and aiding in browning during cooking. - Oil or Ghee:
Oil or ghee (clarified butter) is used in the dough to add richness and moisture. It also helps to prevent the naan from sticking to the cooking surface and adds a hint of buttery flavor. - Fresh Coriander (Optional):
For an extra burst of freshness and color, you can add chopped fresh coriander (cilantro) to your garlic naan dough. It’s a delightful addition that complements the garlic beautifully. - Baking Powder (Optional):
If you prefer a quicker alternative to yeast, you can use baking powder to leaven the naan dough. Just keep in mind that the texture may be slightly different from traditional yeast-raised naan.
Step-by-Step Cooking Instructions: Crafting Perfect Garlic Naan
Step-by-Step Cooking Instructions: Crafting Perfect Garlic Naan
Now that you have all your ingredients ready, let’s dive into the exciting process of making delicious garlic naan from scratch. Follow these step-by-step instructions, and you’ll be on your way to enjoying fluffy, flavorful naan in no time!
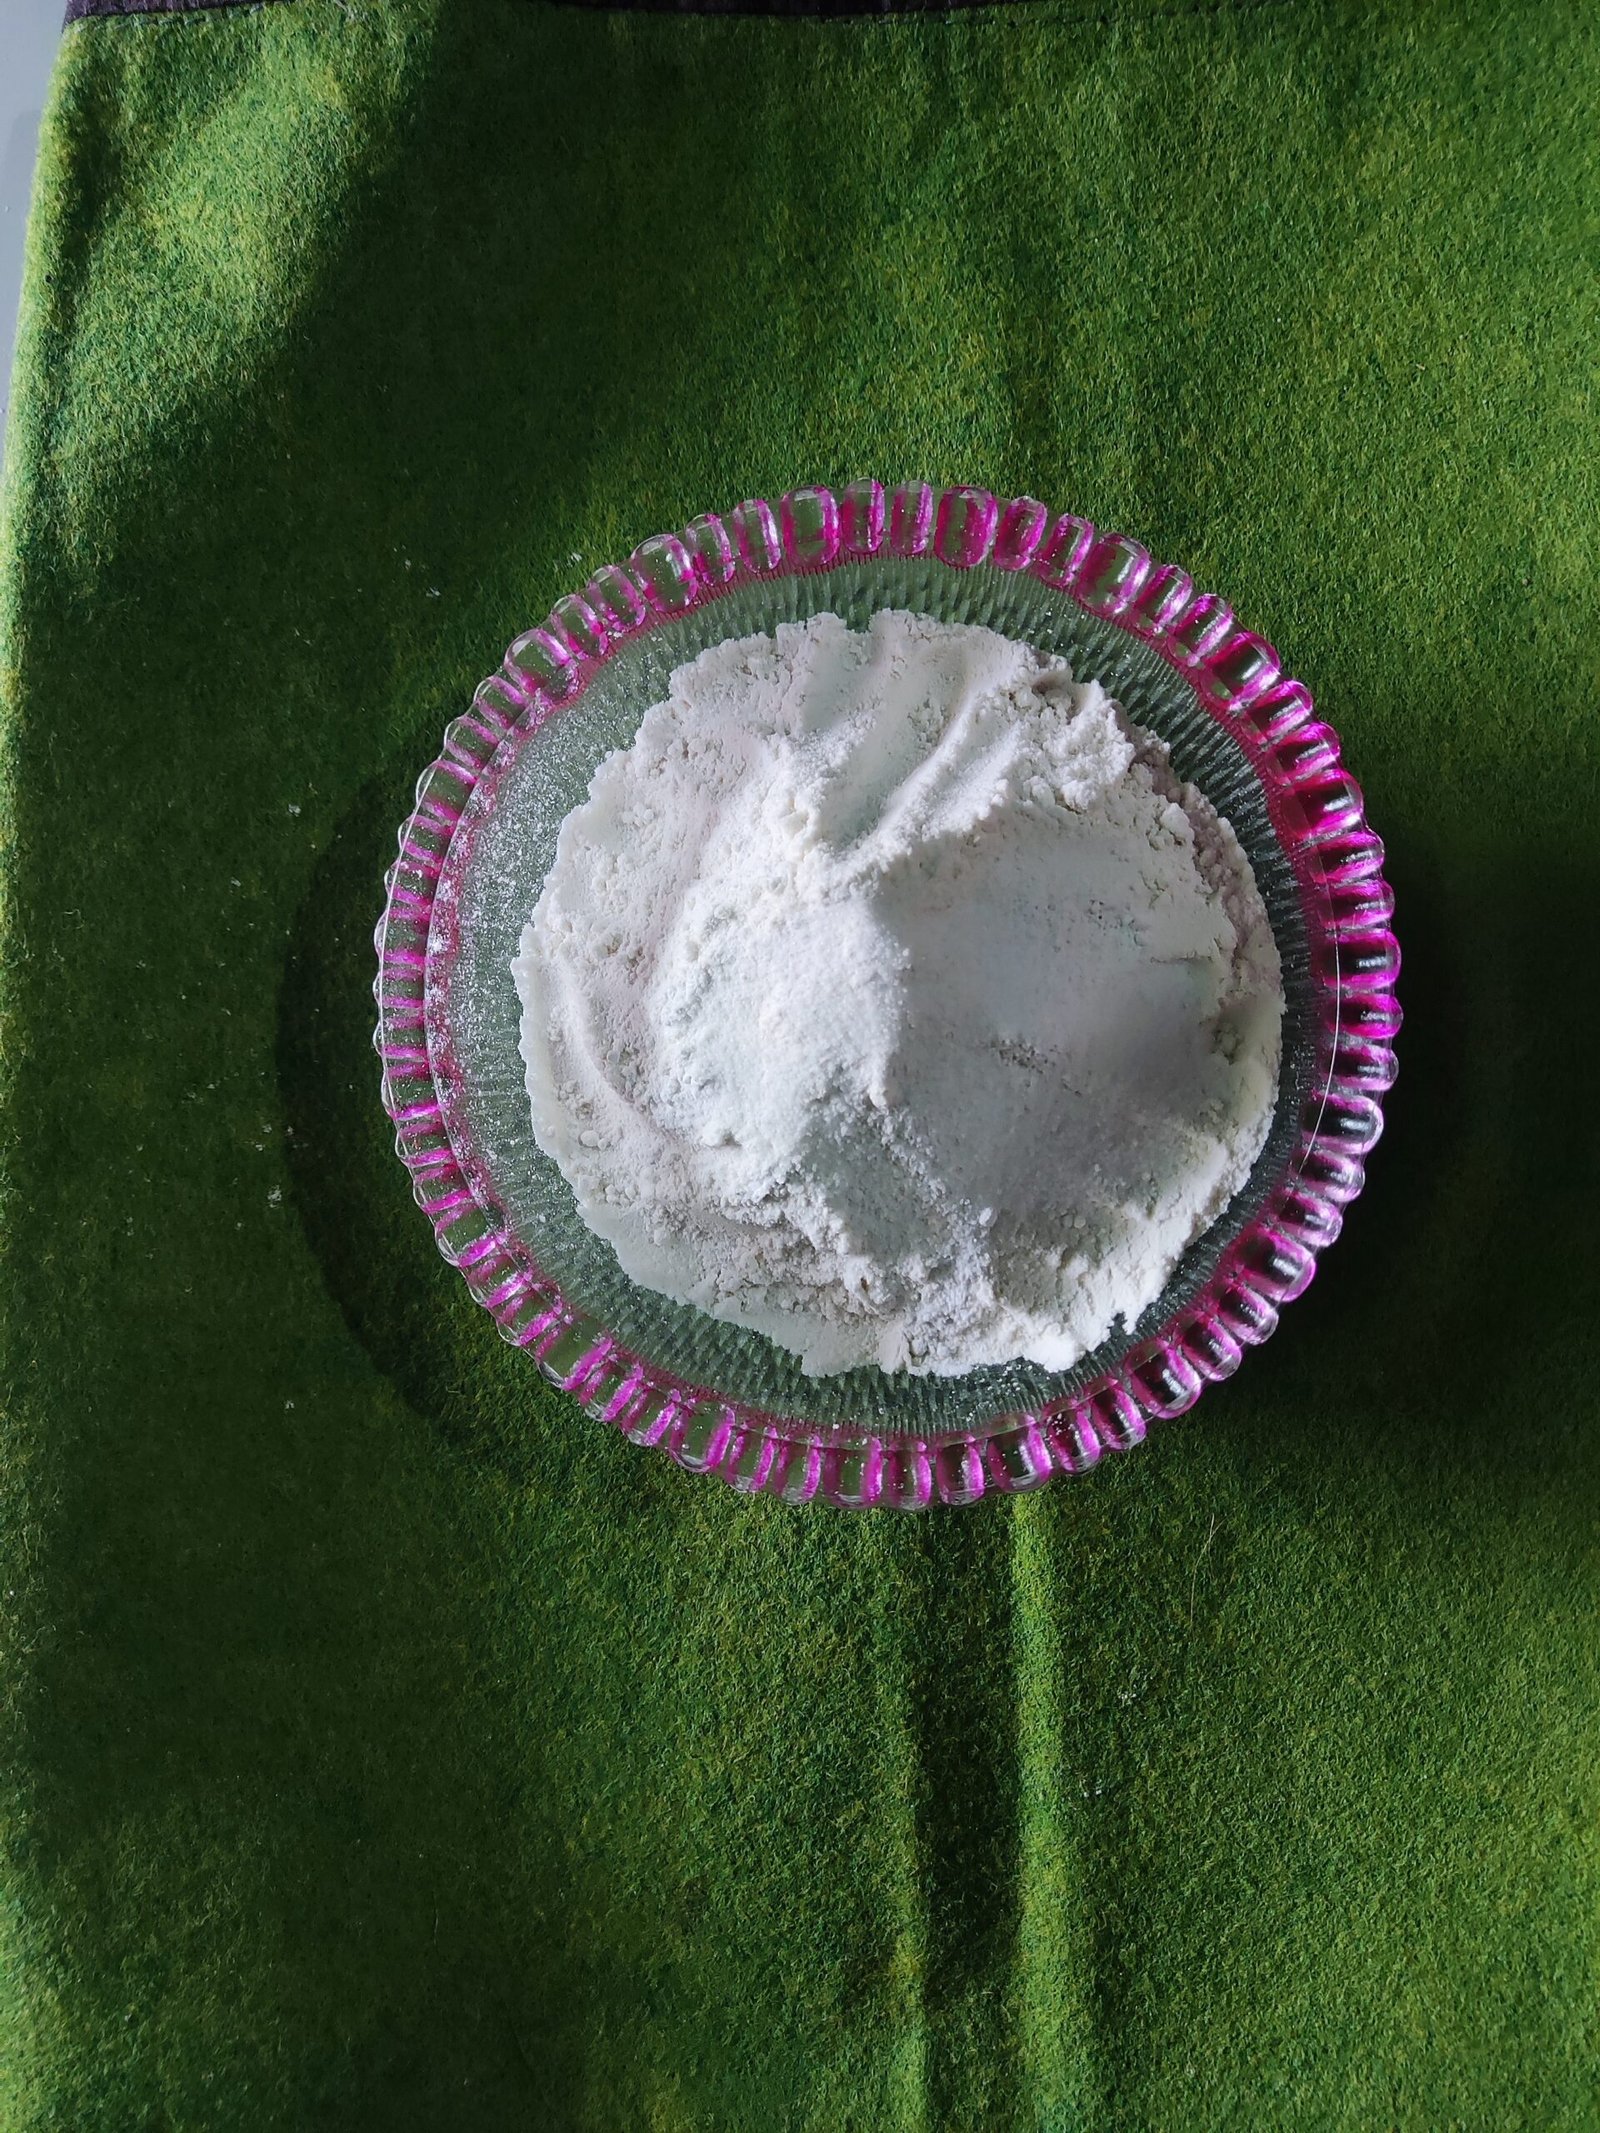
Step 1: Maida (plain flour)
Firstly, in a large mixing bowl take 2 cups of maida, 1/4 tbsp baking soda, 1 tbsp baking powder, and 3/4 tbsp salt. Mix well.
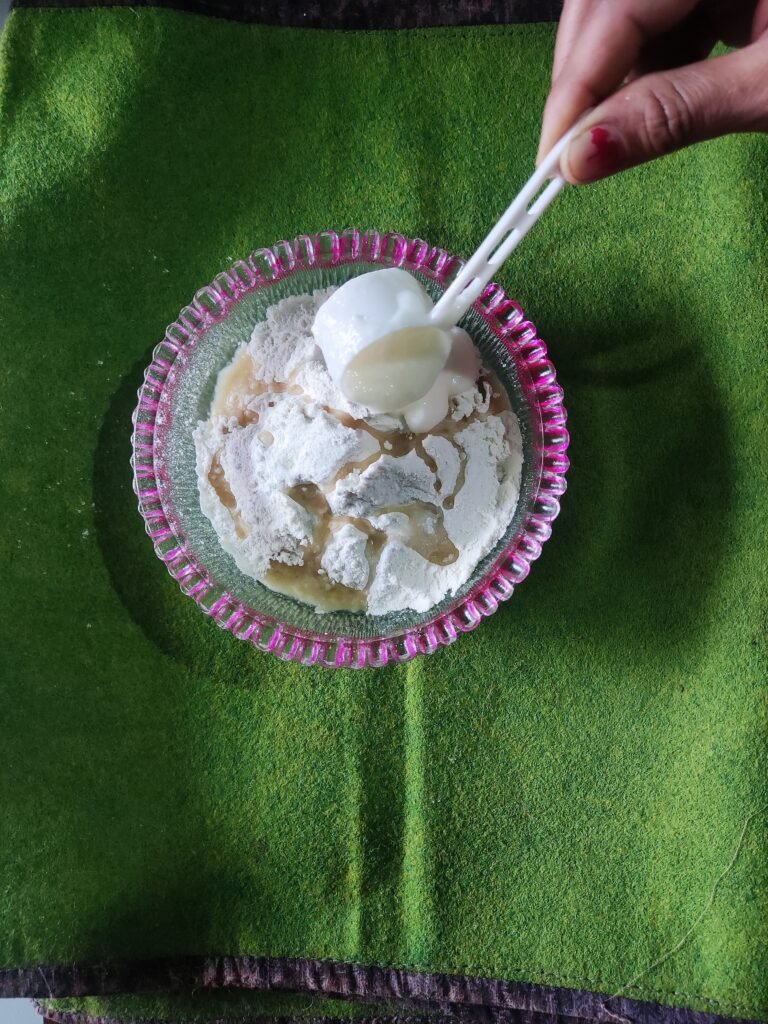
Add 2 tbsp oil, 1/4 cup curd, and 1 tbsp garlic chopped.
Step 2: Mix the Dough
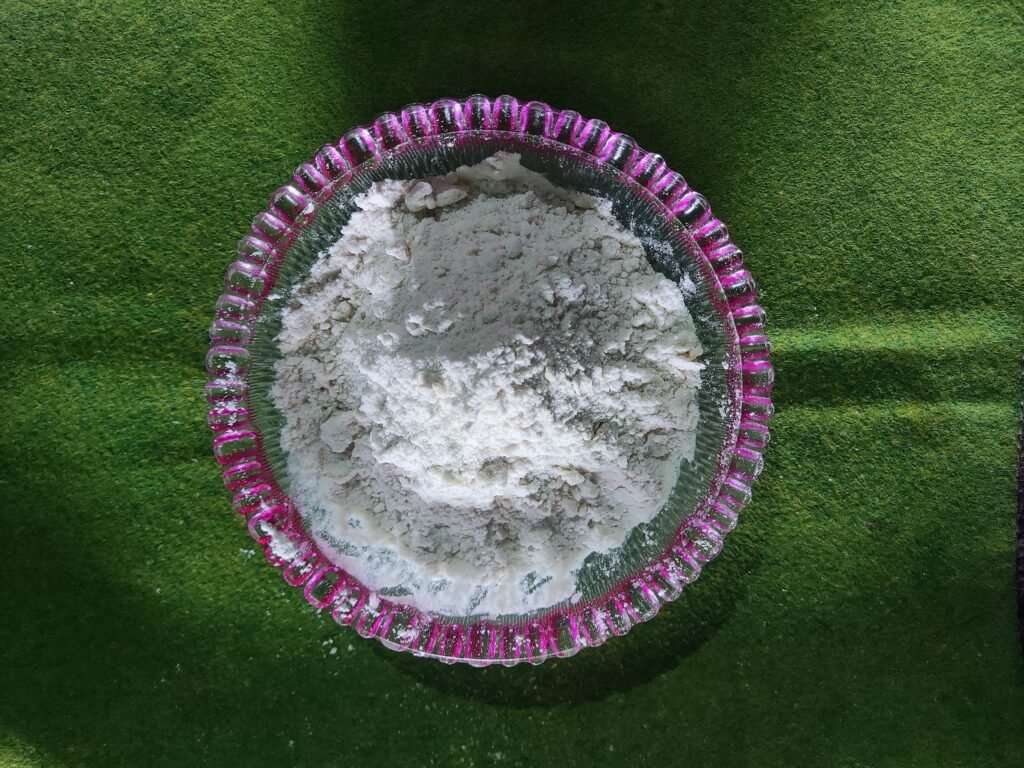
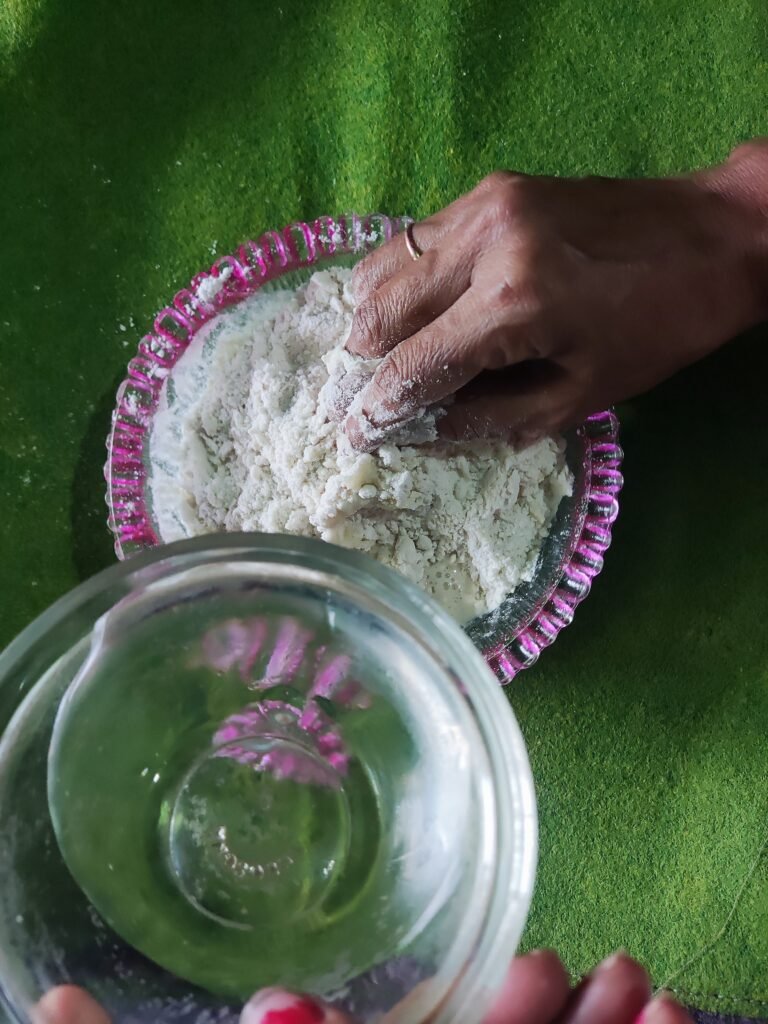
In a large mixing bowl, combine the activated yeast mixture with all-purpose flour, yogurt, or milk, minced garlic, salt, and a drizzle of oil or ghee. Use a wooden spoon or your hands to mix everything until a soft, slightly sticky dough forms.
Step 3: Knead the Dough
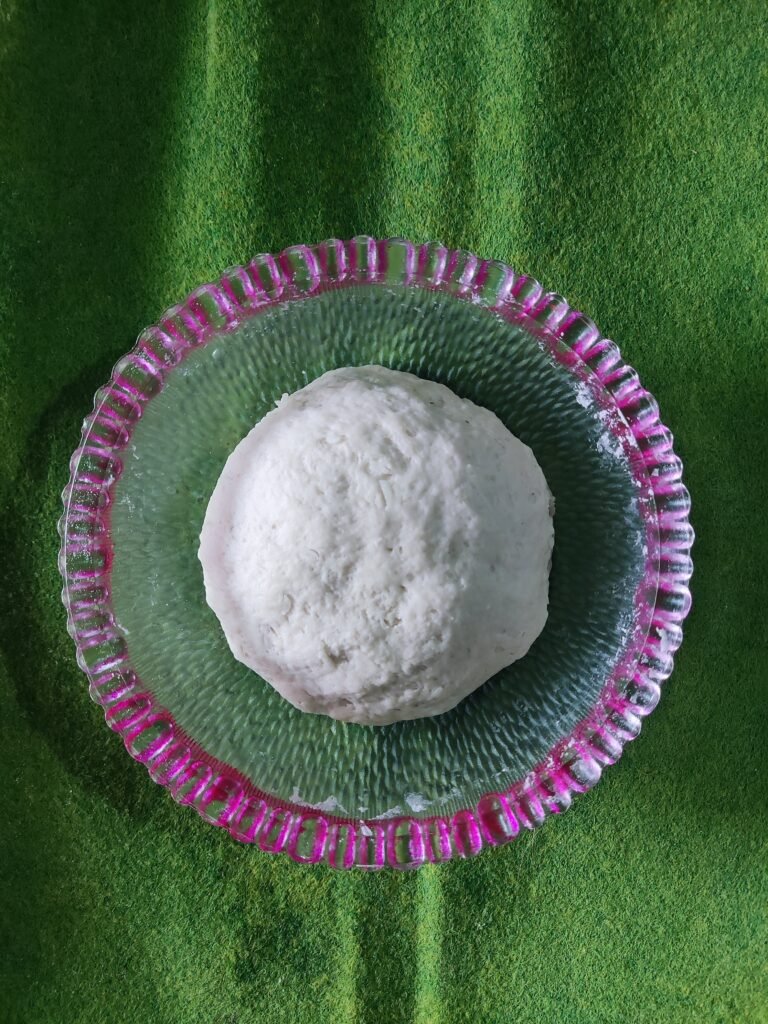
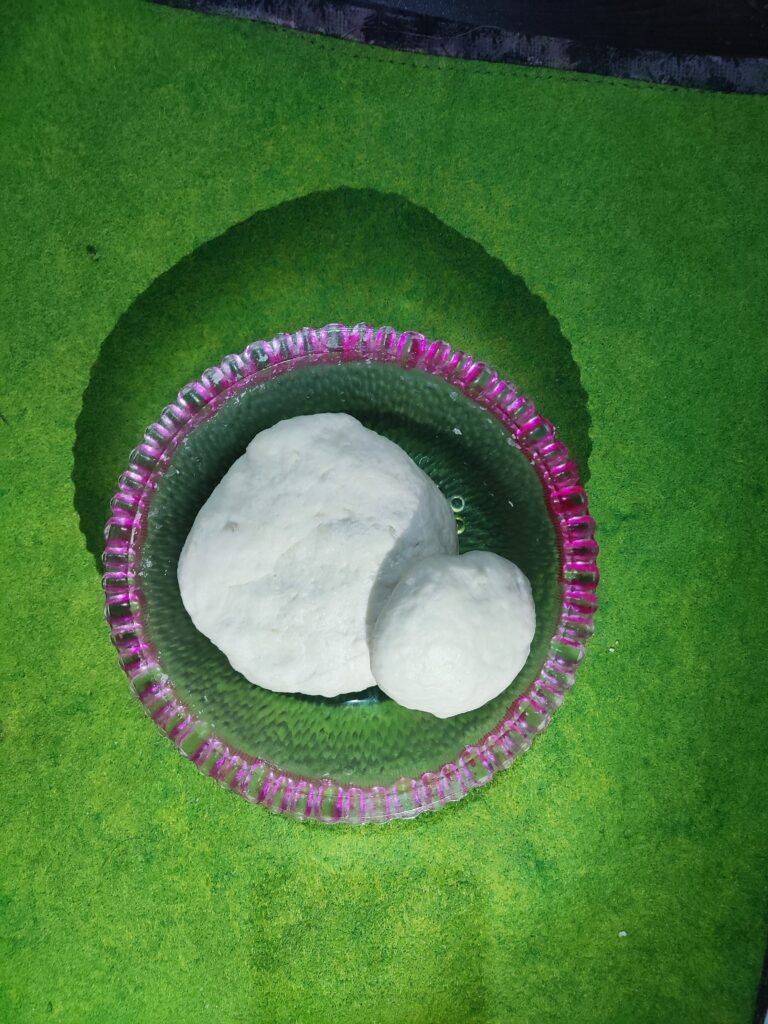
Transfer the dough onto a lightly floured surface and knead it for about 5-7 minutes until it becomes smooth and elastic. Add more flour as needed to prevent sticking, but be careful not to overdo it. The dough should be soft and pliable.
Step 4: Let it Rise
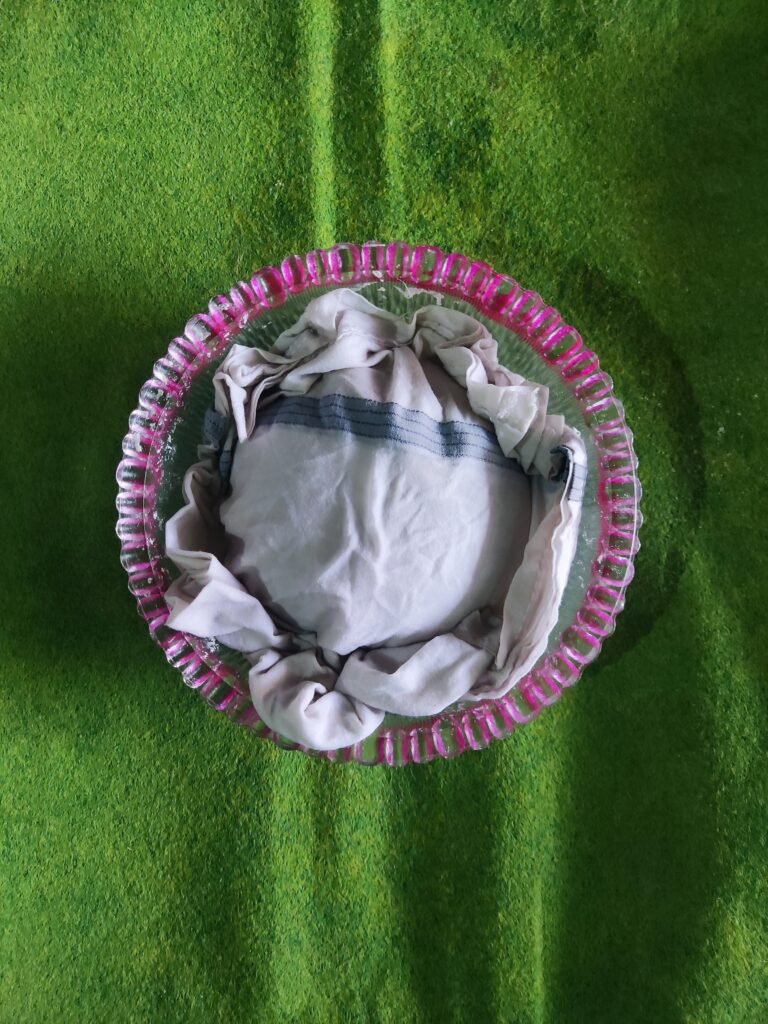
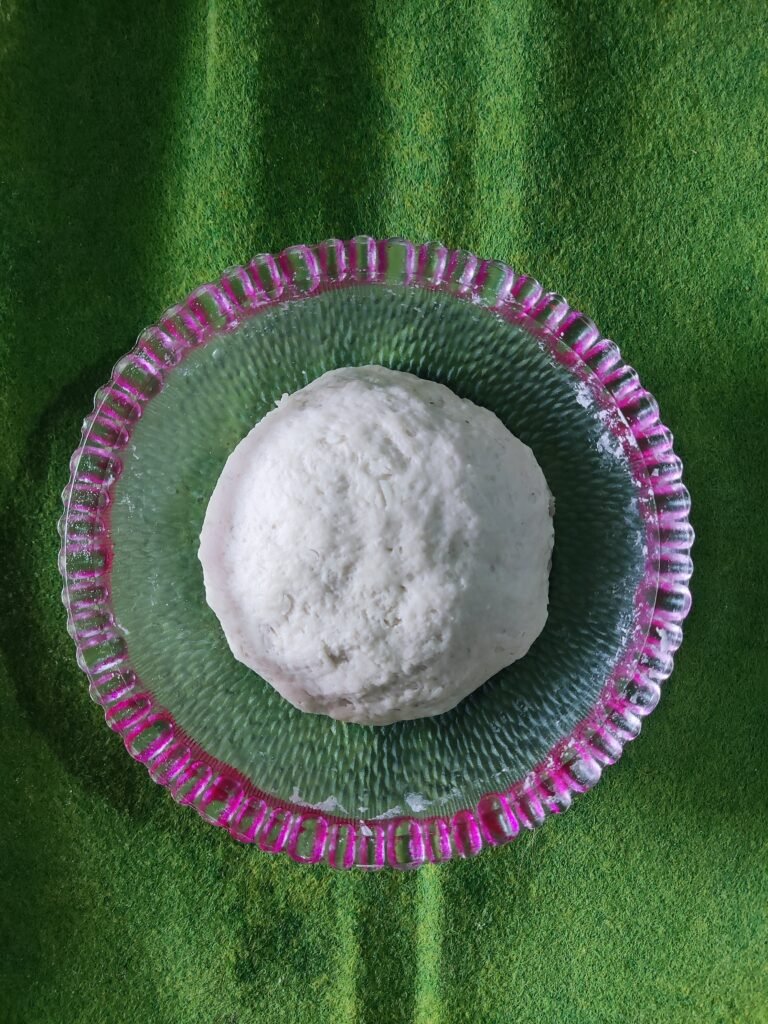
Place the kneaded dough in a greased bowl, cover it with a clean kitchen towel or plastic wrap, and let it rise in a warm, draft-free place for about 1-2 hours, or until it doubles in size. This allows the maida to ferment and the dough to develop flavor and texture.
Step 5: Preheat the Cooking Surface
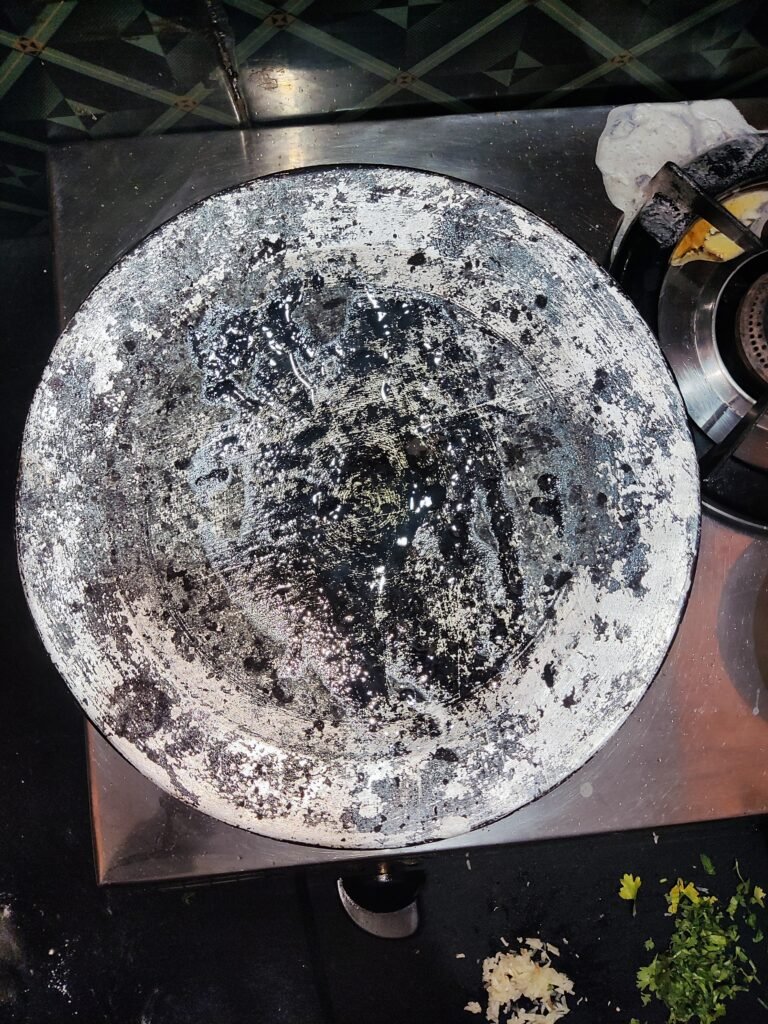
While the dough is rising, preheat a skillet, griddle, or tandoor oven over medium-high heat. If using a skillet or griddle, lightly grease it with oil to prevent sticking.
Step 6: Divide and Shape the Dough
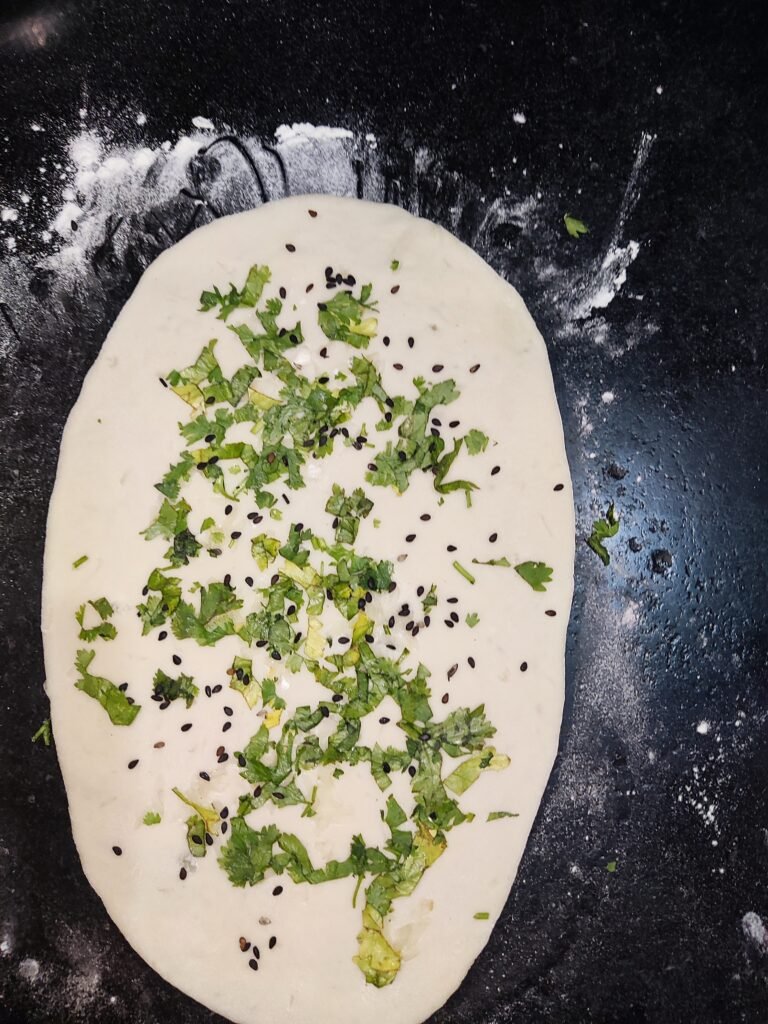
Once the dough has risen, punch it down to release any air bubbles and transfer it back to the floured surface. Divide the dough into small portions and shape each portion into a smooth ball. Use a rolling pin to flatten each ball into a round or oval shape, about 1/4 inch thick.
Step 7: Cook the Naan
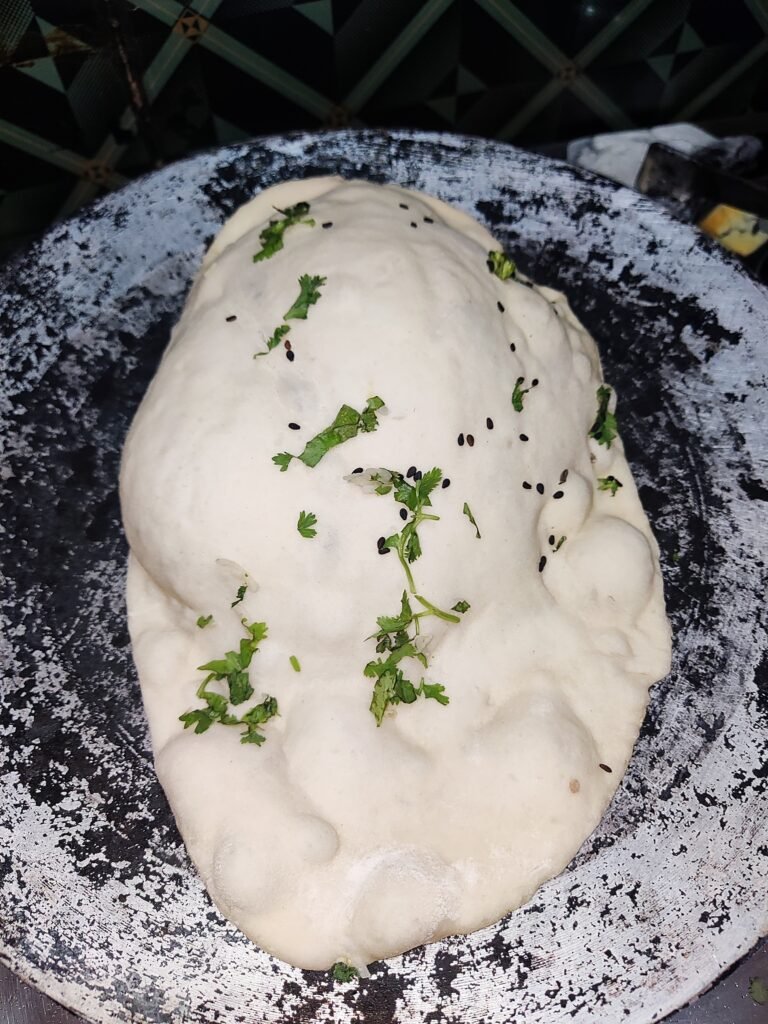
Carefully place the rolled-out naan dough onto the preheated cooking surface. Cook for 1-2 minutes on one side, or until bubbles start to form and the bottom is golden brown. Then, flip the naan and cook for another 1-2 minutes on the other side until it’s cooked through and lightly charred in spots.
Step 8: Garnish and Serve
Once cooked, brush the hot naan with melted butter or ghee and sprinkle with chopped fresh coriander (cilantro) or garlic for extra flavor. Serve the garlic naan warm alongside your favorite Indian dishes or enjoy it on its own as a delicious snack or side dish.
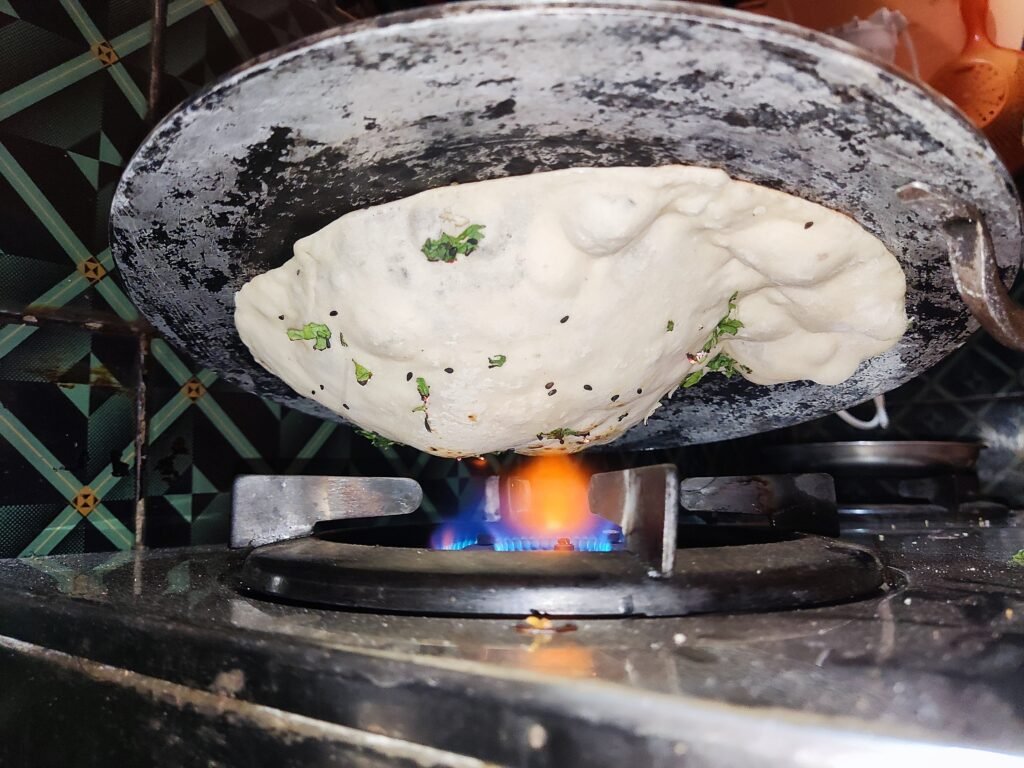
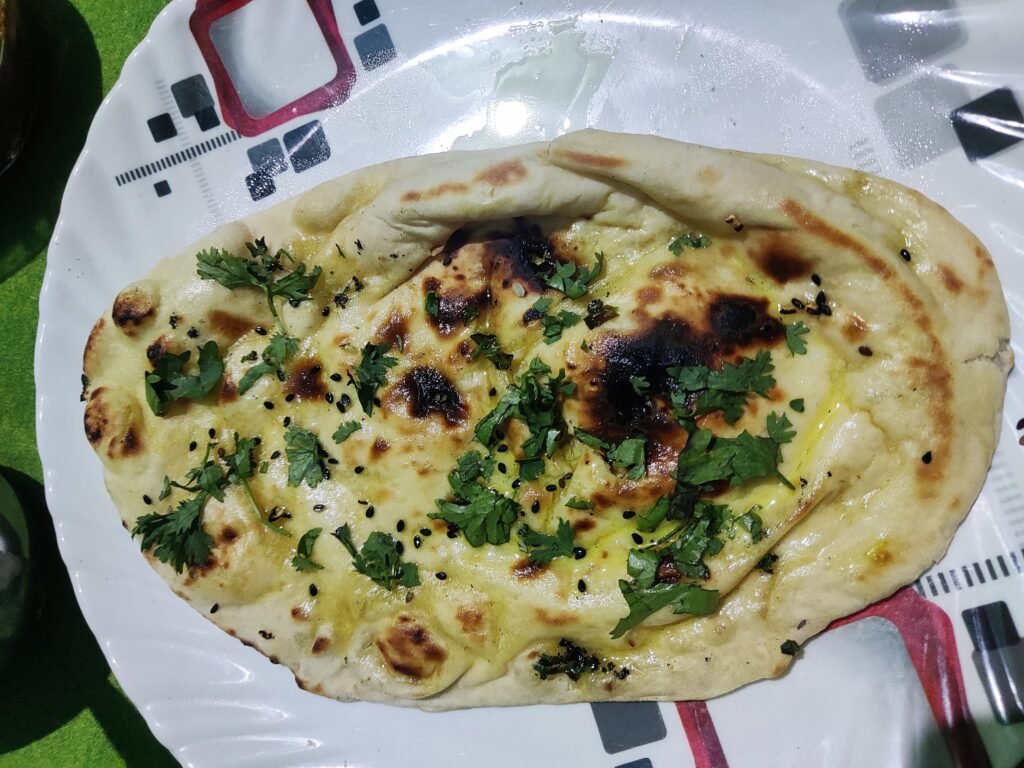
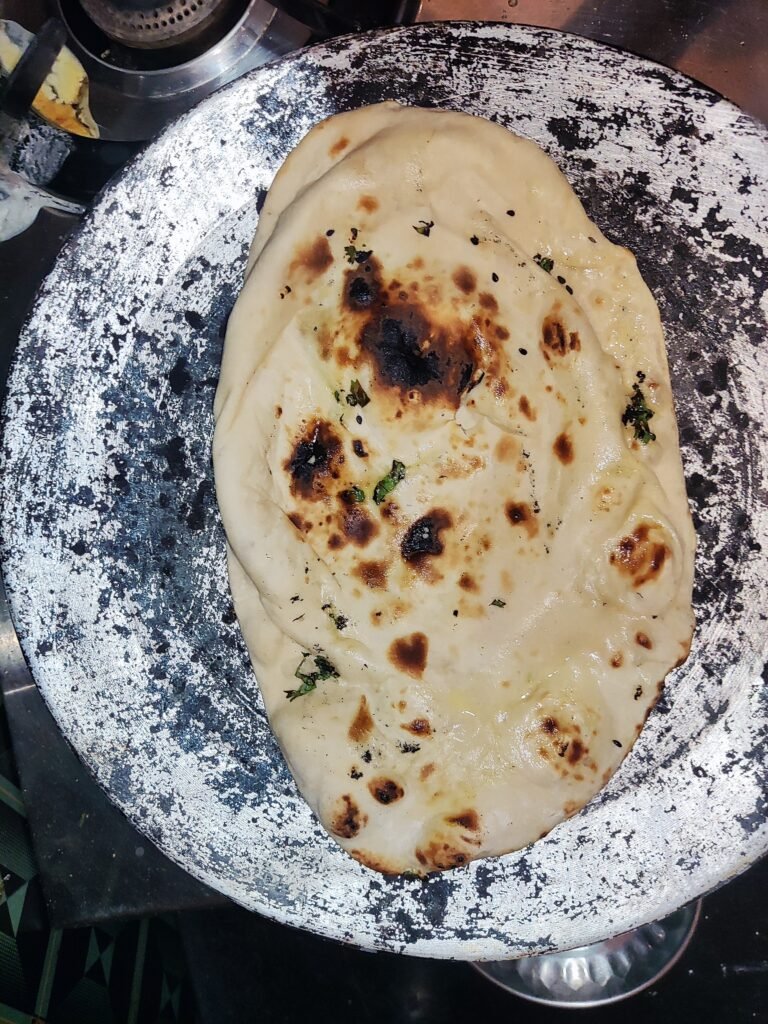
Step 9: Enjoy!
Now, take a moment to admire your freshly baked garlic naan – fluffy, flavorful, and utterly irresistible. Serve it up with pride and savor every bite of this homemade culinary delight. Enjoy!

Adding Garlic: Infusing Flavor into Your Garlic Naan
Garlic is the star ingredient that elevates ordinary naan to extraordinary levels of flavor and aroma. Whether you prefer the pungent kick of fresh minced garlic or the subtle sweetness of garlic-infused oil, here’s how to incorporate this aromatic powerhouse into your garlic naan with ease.
- Fresh Minced Garlic:
If you’re a garlic lover who enjoys bold, intense flavors, fresh minced garlic is the way to go. Start by peeling and finely mincing fresh garlic cloves using a sharp knife or garlic press. Then, simply mix the minced garlic directly into the naan dough during the preparation process. This ensures that every bite of naan is infused with the unmistakable taste and aroma of garlic. - Garlic Powder:
For a more subtle garlic flavor that’s evenly distributed throughout the naan, consider using garlic powder. Garlic powder is made from dehydrated garlic cloves and has a milder, sweeter taste compared to fresh garlic. To incorporate garlic powder into your naan dough, simply sprinkle it evenly over the dough while mixing the ingredients. This allows the garlic powder to blend seamlessly into the dough, imparting its savory essence without overpowering the other flavors. - Garlic-Infused Oil:
For a touch of richness and a hint of garlic flavor, try using garlic-infused oil in your naan dough. To make garlic-infused oil, simply heat a small amount of oil (such as olive oil or ghee) in a pan and add crushed or sliced garlic cloves. Allow the garlic to infuse into the oil over low heat for a few minutes, then strain out the garlic solids. Use the fragrant garlic-infused oil to replace some or all of the regular oil or ghee called for in the naan recipe. This imparts a subtle garlic flavor to the naan while adding a luxurious touch to the dough. - Garlic Butter:
For an extra indulgent twist, consider brushing the cooked naan with garlic butter just before serving. To make garlic butter, simply melt butter in a pan and add minced garlic. Cook the garlic in the butter over low heat until fragrant and golden brown, then brush the garlic-infused butter over the hot naan. This adds a burst of garlic flavor and a glossy sheen to the naan, making it even more irresistible. - Garnishing with Garlic:
In addition to incorporating garlic into the naan dough itself, you can also garnish the cooked naan with additional garlic for extra flavor and visual appeal. Sprinkle freshly minced garlic or garlic powder over the hot naan just before serving to enhance its garlic aroma and taste. This adds a delightful crunch and bursts of garlic flavor with every bite.
Garlic Naan Recipe Card
Prep Time Cooking Time Total Time Serving
1Hr 10 Min 30 Min 1Hr 40 Min 3
Serving Suggestions:
Now that you’ve perfected your homemade garlic naan, it’s time to think about how to enjoy it to the fullest. From classic curry companions to creative culinary combinations, here are some delightful serving suggestions to elevate your garlic naan experience:
- Pair with Curry:
Garlic naan and curry are a match made in culinary heaven. Serve your fluffy naan alongside your favorite Indian curries, such as butter chicken, chicken tikka masala, or vegetable korma. The soft, pillowy texture of the naan is perfect for soaking up the rich, aromatic sauces, creating a harmonious balance of flavors with every bite - Dip in Chutney:
Enhance the flavor of your garlic naan by pairing it with a selection of chutneys and dipping sauces. Try mint chutney for a refreshing burst of herbaceous flavor, mango chutney for a sweet and tangy kick, or tamarind chutney for a rich and tangy accompaniment. Dip your naan generously and savor the explosion of flavors with each bite. - Serve with Raita:
Cool down the spice of your favorite Indian dishes by serving garlic naan with raita, a refreshing yogurt-based dip. Make your raita by combining yogurt with grated cucumber, chopped mint leaves, roasted cumin powder, and a pinch of salt. The creamy texture of the raita complements the fluffy naan beautifully, creating a delightful contrast of flavors and temperatures. - Serve with Lentil Dishes:
Garlic naan pairs beautifully with lentil dishes such as dal or lentil curry. The hearty, earthy flavors of the lentils complement the soft, pillowy texture of the naan, creating a comforting and satisfying meal. Serve your naan alongside a bowl of warm dal and enjoy a nourishing and flavorful dining experience.
Troubleshooting Tips:
While making garlic naan can be a delightful culinary adventure, it’s not uncommon to encounter a few bumps along the way. Here are some troubleshooting tips to help you navigate through any challenges and achieve perfect garlic naan every time:
- Dough Too Sticky:
If your naan dough feels too sticky and difficult to handle, it may be due to excessive moisture. To remedy this, gradually add a little more flour while kneading until the dough becomes smooth and elastic. Be careful not to add too much flour, as this can result in dense and dry naan. - Dough Not Rising:
If your naan dough fails to rise during the proofing stage, it may be due to inactive yeast or improper proofing conditions. Check the expiration date of your yeast and ensure that the water used to activate it is warm but not too hot. Place the dough in a warm, draft-free environment for optimal proofing, such as near a sunny window or in a lightly warmed oven. - Naan Not Fluffy:
If your naan turns out dense and flat instead of fluffy, it may be due to insufficient leavening or improper cooking technique. Ensure that you knead the dough thoroughly to activate the gluten and incorporate enough air into the dough. Additionally, make sure that your cooking surface is adequately preheated and that you cook the naan over medium-high heat for the right amount of time to achieve a fluffy texture. - Naan Too Tough:
If your naan comes out tough and chewy instead of soft and tender, it may be due to over-kneading the dough or using too much flour. Be mindful not to overwork the dough during kneading, as this can result in a tough texture. Additionally, use a light hand when adding flour to prevent the dough from becoming too dense. - Naan Burning Quickly:
If your naan is burning quickly on the cooking surface, it may be due to excessively high heat or inadequate greasing of the surface. Reduce the heat slightly and make sure to grease the cooking surface with oil or ghee before cooking each naan to prevent sticking and burning. - Garlic Burning:
If the garlic on your naan is burning before the bread is fully cooked, it may be due to using too high heat or adding the garlic too early in the cooking process. Reduce the heat and add the garlic towards the end of the cooking time to prevent it from burning while ensuring that the naan cooks evenly. - Uneven Cooking:
If your naan is cooking unevenly, with some parts burnt while others remain undercooked, it may be due to uneven thickness or improper flipping. Roll out the naan dough to a uniform thickness and ensure that it is evenly cooked on both sides by flipping it halfway through the cooking process. Adjust the heat as needed to ensure even cooking. - Lack of Garlic Flavor:
If your garlic naan lacks the desired garlic flavor, it may be due to using insufficient garlic or not distributing it evenly throughout the dough. Increase the amount of garlic used in the recipe or ensure that it is evenly mixed into the dough to ensure that every bite is infused with garlic flavor.
Conclusion:
Finally making Garlic Naan at home is a delightful journey into the heart of Indian cuisine. By following our step-by-step guide you can make this lovely roti right in your kitchen whether you choose to bake it in the oven or on the tawa. The aroma of fresh naan and the burst of garlic flavor will draw you to your kitchen so gather your ingredients, roll up your sleeves, and get ready to cook.
Nutrition info:
